
WF26GC DS$20

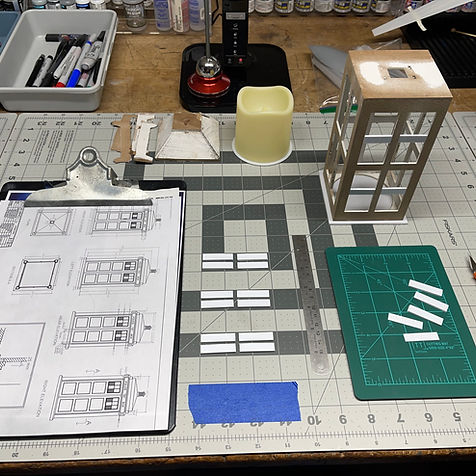
Step 001: WF26 Tardis!
Here we go again...
Tardis on the Cheap
A trip to the Dollar Store produced a $6 wooden candle (with lighting), a $5 remote control lighting puck, and a cheap $1 plastic jar. Total store cost of $12, so well under the $20 maximum.
Status: Completed

Step 002: Separation
Separation Anxiety
Steady, Steady...
The wooden lantern separated and the core sanded. Not the greatest wood to work with, but it would do.
Status: Completed

Step 003: Match Game
YES!
This should work!
Creating all of the fill-ins to match and make use of the original wooden lantern frame.
Status: Completed
Step 004: Rinse & Repeat
YESSSSSSS!!!!
This may actually work!
Filling in all four sides with structural parts to match.
Status: Completed

Step 005: Pyramid Math
Top of the World
Well, maybe just the Tardis...
The original pyramid-like topper was too tall and fragile, so pulled out the old pyramid math to make a one-piece topper. Also drilled out the lighting hole for the top Tardis lantern and cut side panels.
Status: Completed

Step 006: Panel Members
Taking Sides
More Rince, Repeat for all sides...
Mounted all of the side panels inside. Also used my old Cameo3 to cut windows to fit. This is the step where I realized that I had to do this like a ship-in-a-bottle... added a bit of "fun" to the build timeline.
Status: Completed

Step 007: Puuuuuck It!
Puck, Puck, Goose
Another great find!
Found a cheap puck light complete with remote control. It already had a bright LED for each side and one in the middle that I could extend up into the roof to light a small lantern on top of the Tardis. Painted the core of the Tardis inside and out and checked for any lighting leaks.
Status: Completed

Step 008: Signage!
Coming Together
Feeling the Blues...
Initially I had painted the Tardis in the earlier version from my generation (Baker), but figured only a few of us would get that weirdish blue... so went with a blue more closely resembling the 90s Tardis and very pleasing to the eye. Also made the signage... was fun trying to make the door sign readable at this scale, but found most of the fonts and got it to work pretty well.
Status: Completed

Step 009: Accessorize!
Coming Together
All Items Accounted For...
Mounted the board of the puck light on top of a cheap $1 plastic jar (also from the Dollar Store) and simply wired the feeder wires to the original wooden lantern lighting innards. Made and installed opaque windows all around the Tardis.
Status: Completed

Step 010: Come Together
Almost There
Showing off...
So deviously simple! Looks pretty darn good with the lights on! The $5 lighting puck even allows for dimming the lighting.
Status: Completed

Step 011: Showtime!
Wonderfest 2026
Group Challenge Completed!
Cue the music... the $12 Tardis is complete! And... something non-Star Wars from me, too. Fun!
Status: Completed